Showing posts with label crafting. Show all posts

Sunday, August 23, 2015

Something I've learned this year...

I like to think I'm a crafty person. I like to work with my hands, get messy, and create something. I've dabbled in making cards here and there, but never really jumped into making them, let alone actually sending them. That is until I found something magical! Lawn Fawn products make you want to create something amazing! I've jumped full force into a crafting niche and I'm finally happy!

With cards I can get super messy, super creative, and in an area less than 5x7 be able to finish quickly. I admit I'm am a super impatient crafter. I want things done. Like now! No, like five minutes ago. Scrapbook pages take to long for me. I switched to digital and that's been super awesome...but still doesn't draw me in like card making does. I've really learned to love making cards again.

Hubby build me the craft closet of my dreams. Now, before you get too jealous it's not a huge closet. It's a coat closet, but the perfect size for my crafty needs. Best part? When I'm mid card, and paper is strewn everywhere...I just close the door!! No mess to clean off the table, no need to stop and clean up mid project. I can just start creating at a moments notice. It's pure heaven, a real sanctuary.

Here's a few cards I've made recently:


Thanks using negative die cut
Thank you card using Lawn Fawn Scripty Thanks

Thanks a ton!
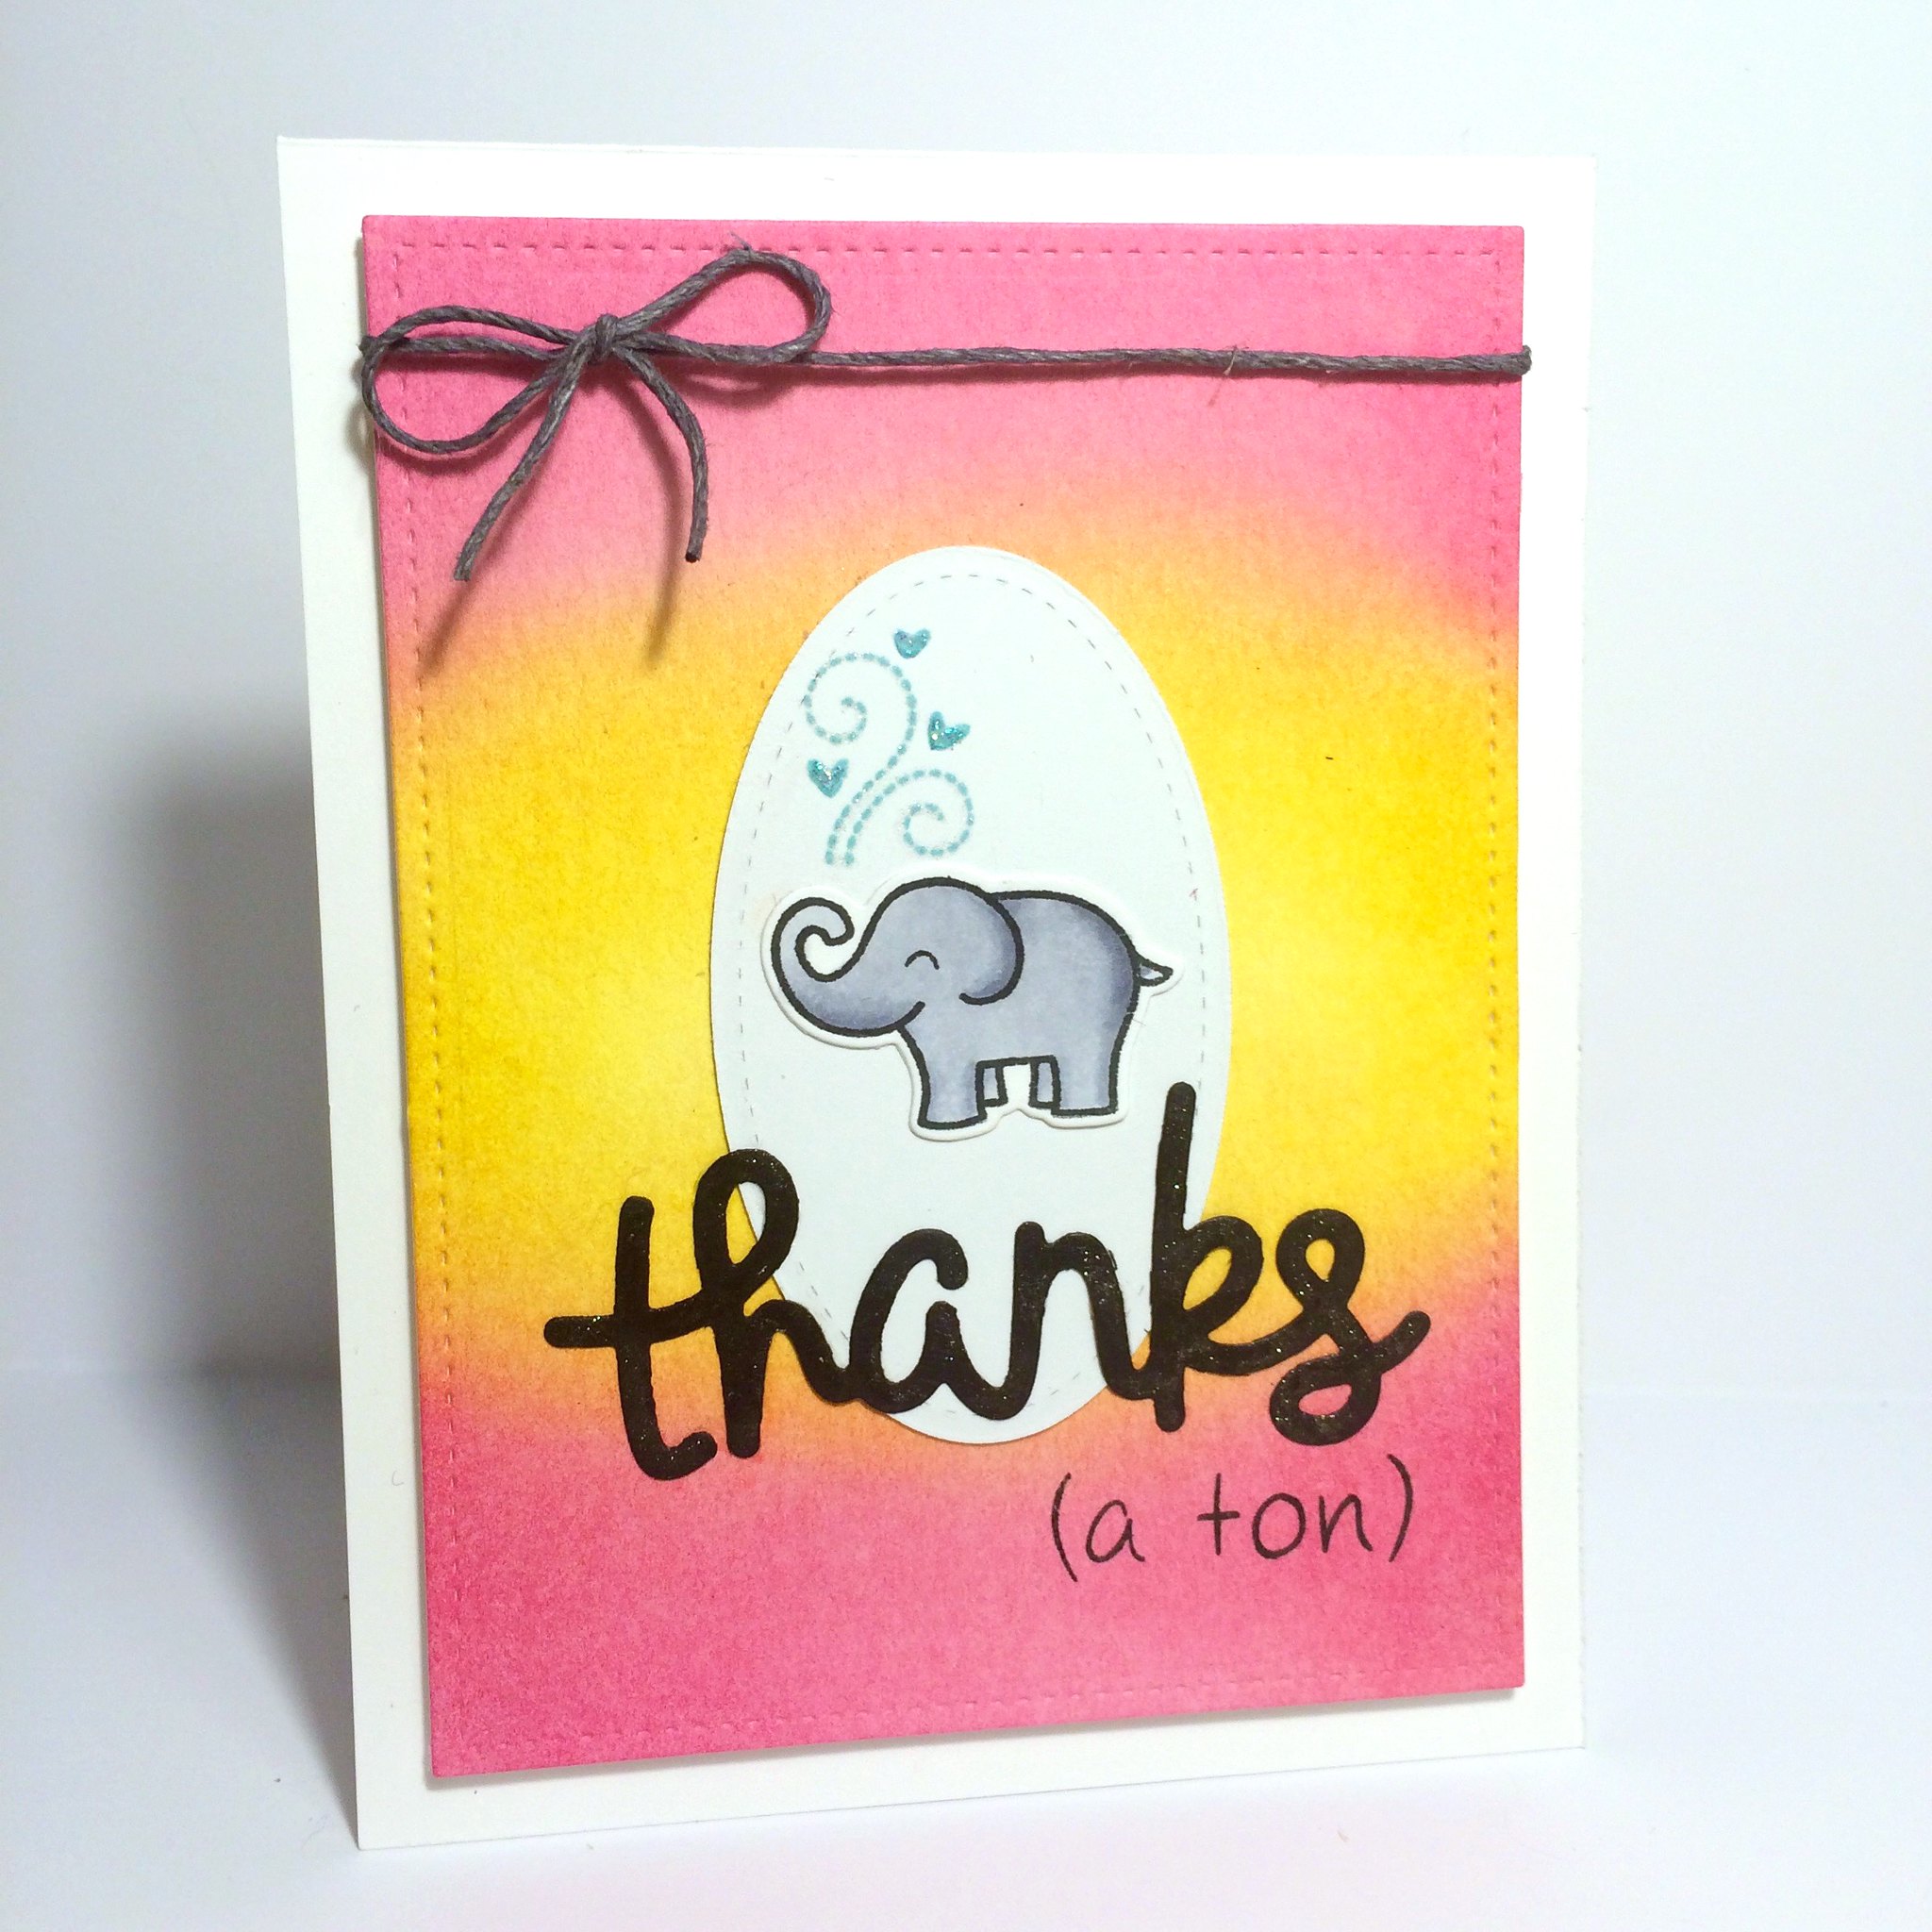
Thank you card with Love You Tons
These cards were really fun to make! I used the negative of the thanks to make a whole new card. Hardest part was keeping track of all the little pieces to fit in the voids LOL!!

I believe in crafty karma, meaning I draw inspiration from others posting cards so I post mine in hopes of returning the inspiration :)

Thursday, May 23, 2013

This week's shenanigans...

This week my awesome sister in law showed me this amazing blog tutorial. A-Frame Pup Tents!!! I had to make this one!! I love power tools:) Tuesday we went out after dinner and looked around Home Depot to get an idea on price.


We had a few changes we wanted to make. In her preschool room these would get a lot of use, so being able to remove the sheet was a must! We decided to replace the bottom wood supports with PCV piping and plastic caps, so the sheet could be unthreaded and thrown in the washer. In a room full of 4 year olds, it's going to be a welcome change!

With every project there were some hiccups. I can't listen, the blog says a 3/4" drill bit would be ok for the project. You would just have to wiggle the bit to widen the whole since 3/4" PCV refers to the inside diameter. Well my sister in law suggested we get a bit that would be the diameter of the outside hole. Which ended up being 1 1/8" however I figured I should just follow the directions and try the 3/4" bit......WRONG!! After going back to Home Depot to get the right bit, I did it again thinking I should get a 1" since I don't want the whole too loose otherwise the frame might not be as sturdy.

Hind sight is always 20/20. Learn from my mistake, and get the 1 1/8" drill bit!! I broke out the power sander to get rid of the splinter hazard. Yay another power tool!! The sheet was just a twin size flat from Walmart. I hemmed it to fit, but neglected to take photos. You'll live ;-)

Check out our finished product!! Claire calls it her "princess castle" so with the little I trimmed off of the flat sheet I tied a bow on it. It's big enough for me to sit inside and have a picnic with the kids. AND it folds flat for storage.

Corbin checking out the finished product!

Wednesday, May 22, 2013